
The completed cardskills iron landscape - an encaustic art A6 card project.
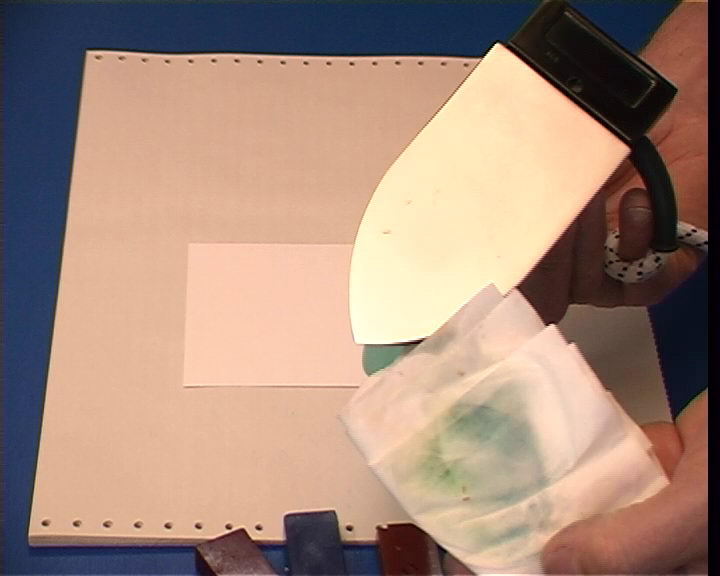
Use clear wax & tissue to thoroughly clean the iron surface
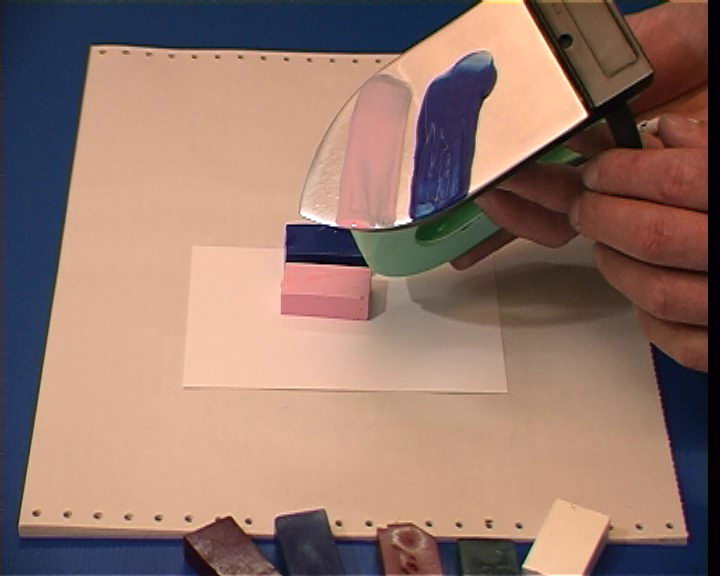
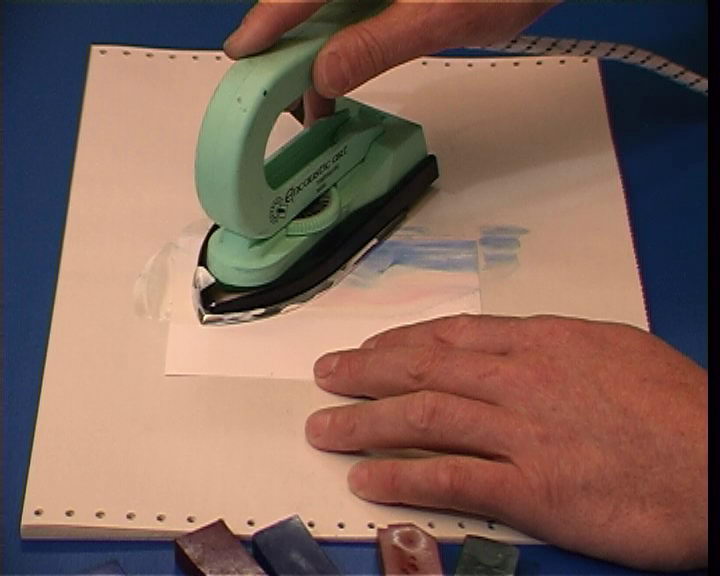
Run the iron over blocks of colours placed in the sky where you want them - then you see where to load the iron.

Apply white wax to the iron - use plenty, this is the 'light' of the picture.

Now add that pink in the same direction and place that was identified at the first step of this tutorial.
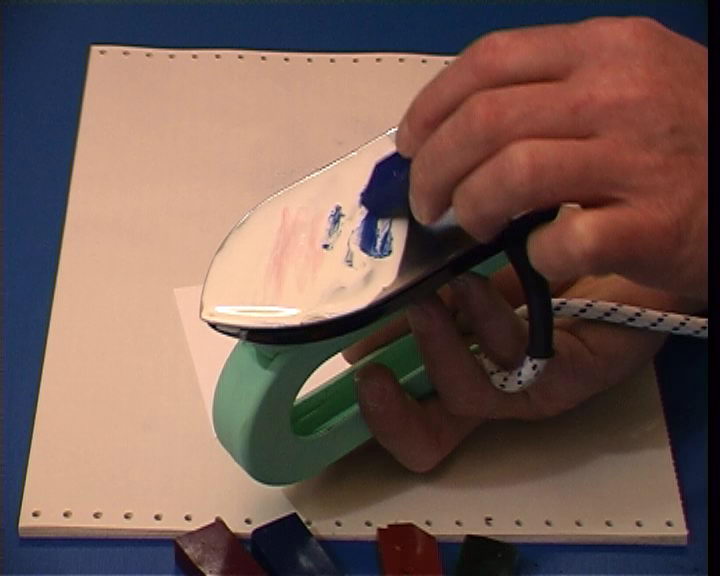
Next put in some blue, again remembering where to place it based on the placement identification done earlier.
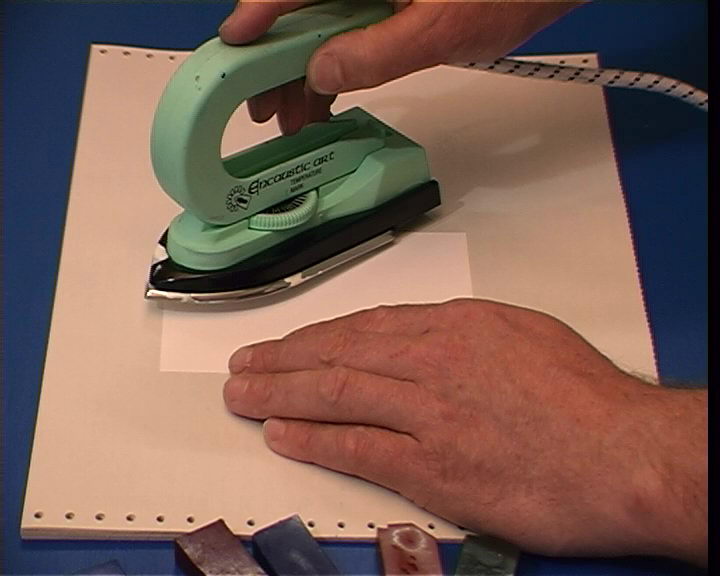
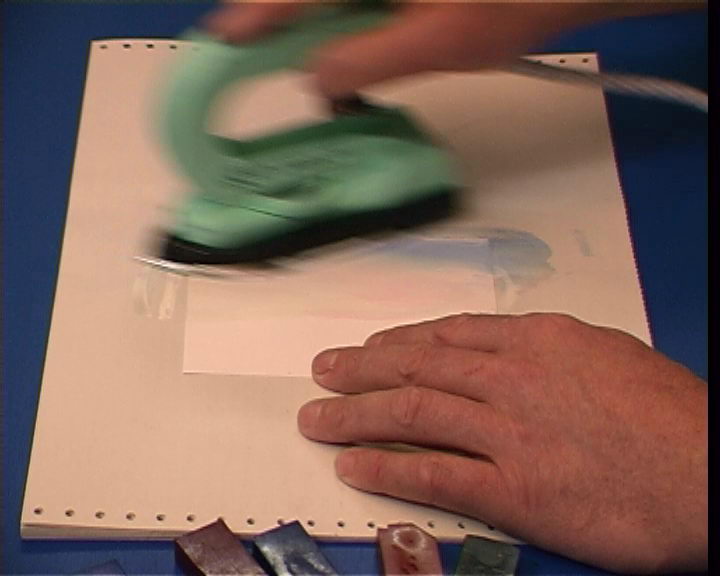
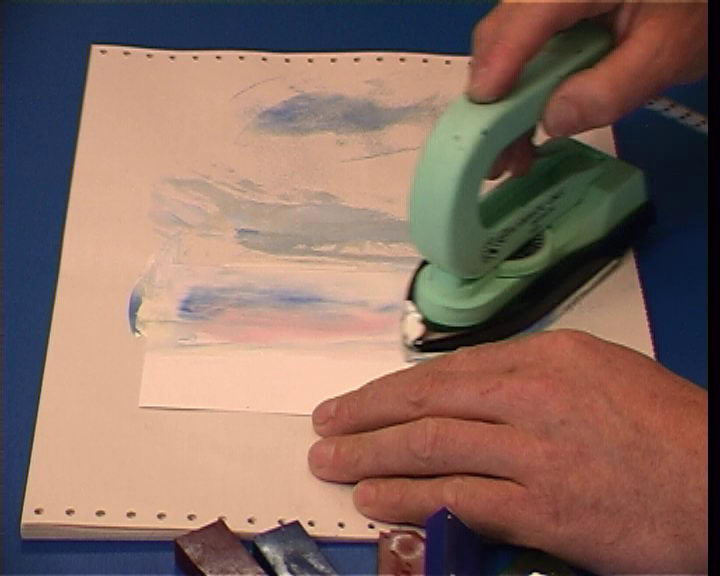
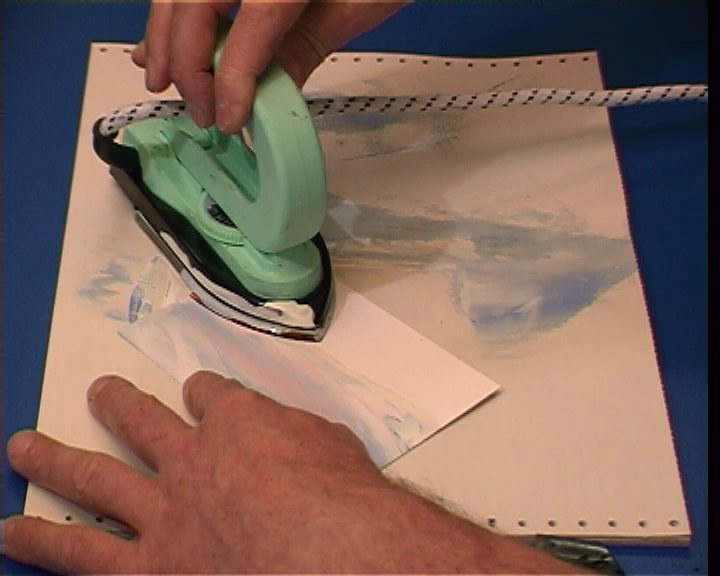
Flip the iron over and then softly rest it onto the card and at the same moment you can begin to gently slide it along over the clean area that will become sky.

The initial smoothing on of colours will result in a basic blend and mix of those chosen hues. Slide right off the card - don't press!

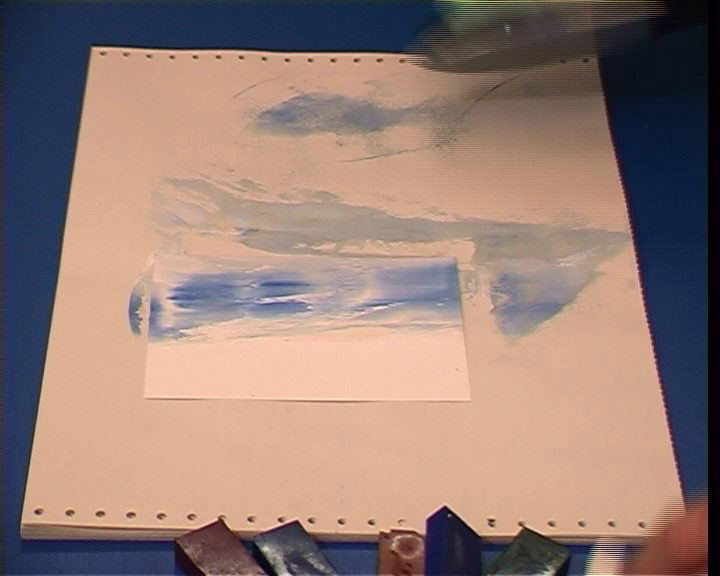
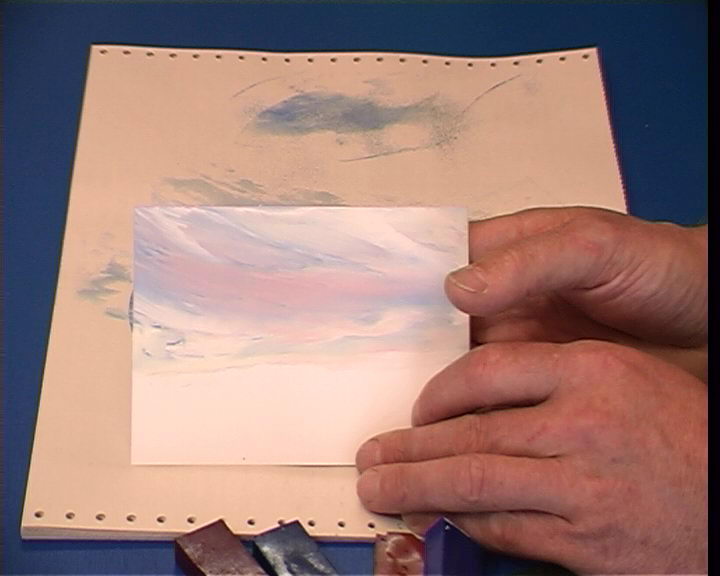
First sky mix - this could be the final one or you can continue to work it.
To continue working, first gently slide the iron over the wax again, in the same direction, to rewarm and remelt the colours.

Floating the iron slowly but steadily across that initial colour has created a still and tranquil sky effect.
Faster movement can create more texture, more 'action' in the airspace!

Soft sky colours but with a bit more lively active feeling to the air.
Of course, more colour can be added at any time, so a weak sky can become far stronger again.
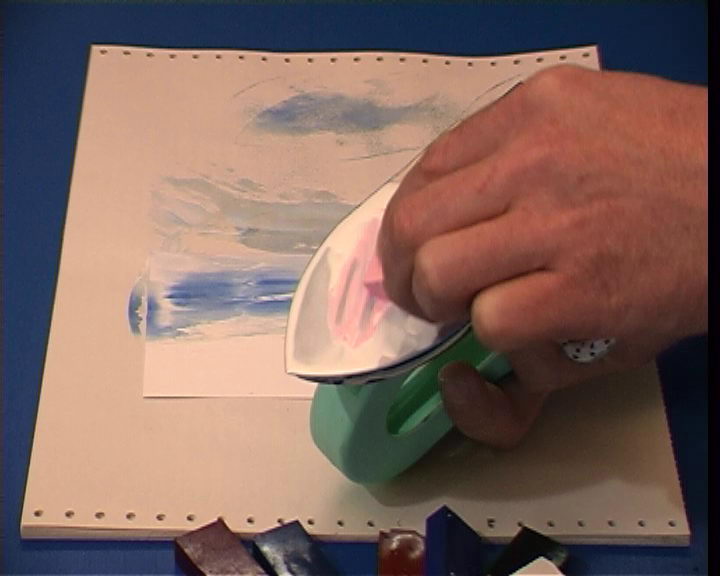
If it gets too dark then add more lighter colours, like this pink again.
Smooth in the new colour lightly and allow it to mix and integrate with the existing wax.

Remember that faster strokes create more texture and thus more 'active' looking skies.
This is a good result with nice strong but well blended colour and an active feeling of movement captured from those faster iron passes.
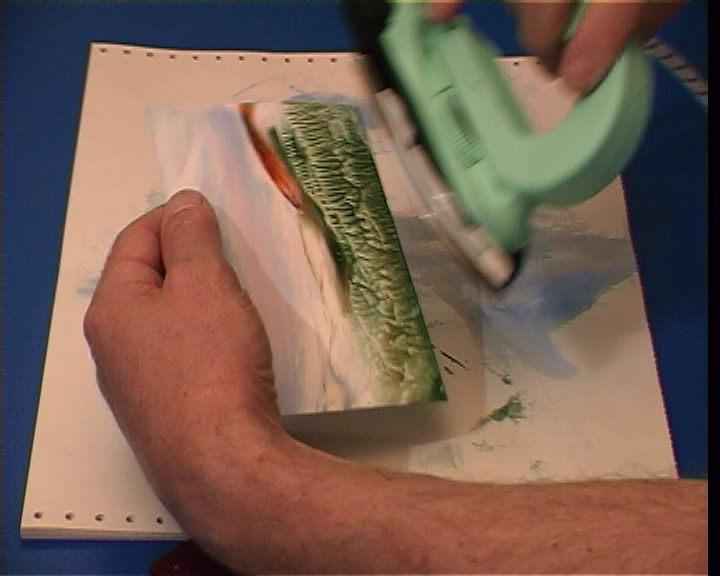
Loading now for landscape with a dark green (Olive green No 23 here) and perhaps a tough of yellow brown along the curved edge too??
Notice how much wax is being used and that it is on that curve which will be at the top when the iron is turned back over.
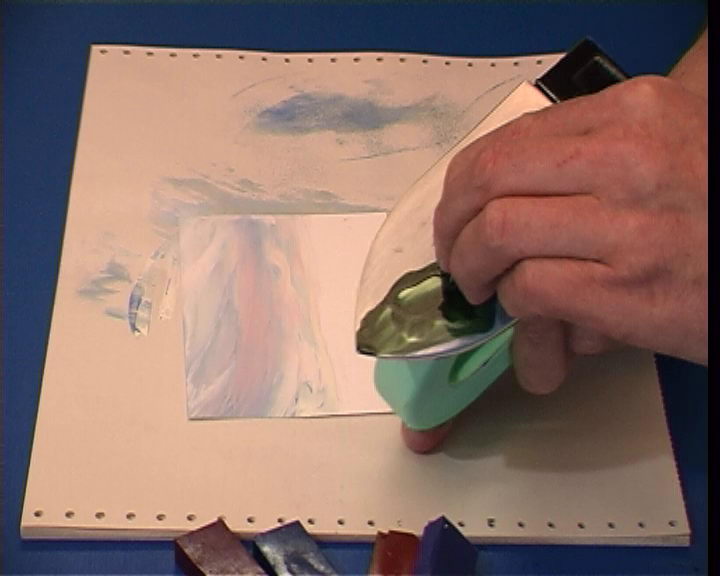
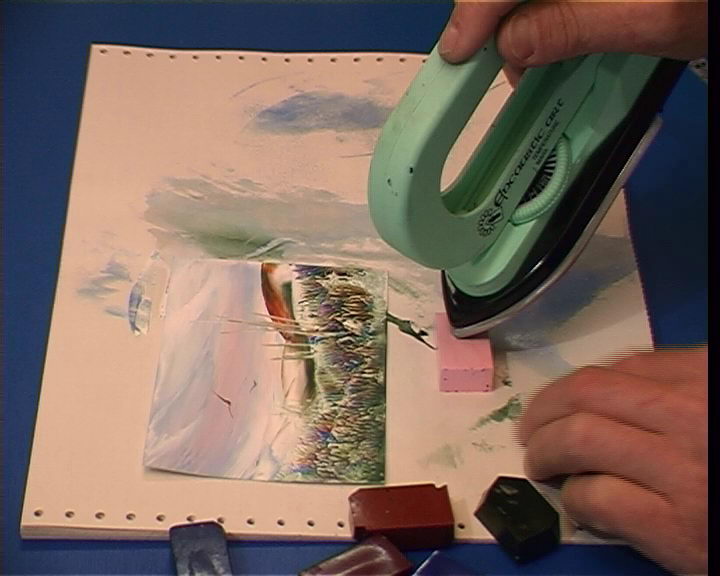
Place that waxed part onto the card with curved edge at the top already starting to form the horizon line.
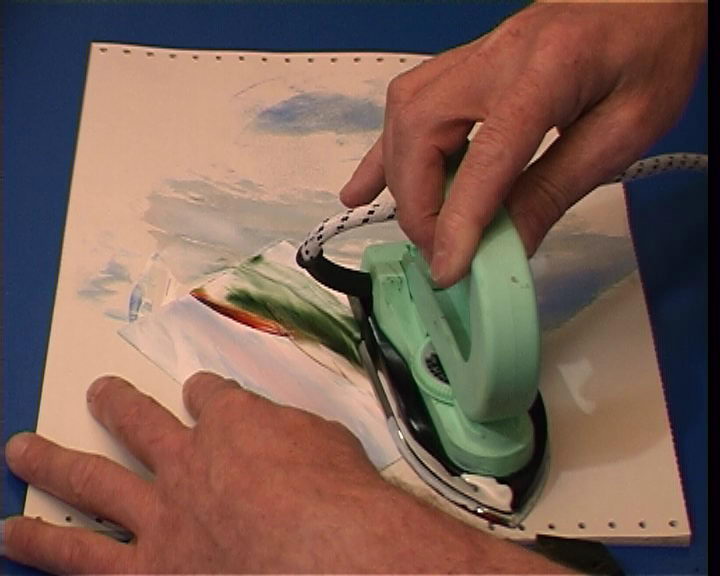
Move by sliding softly, almost floating the iron across on that wax bed as the horizon is defined by the tip edge of the base-plate.
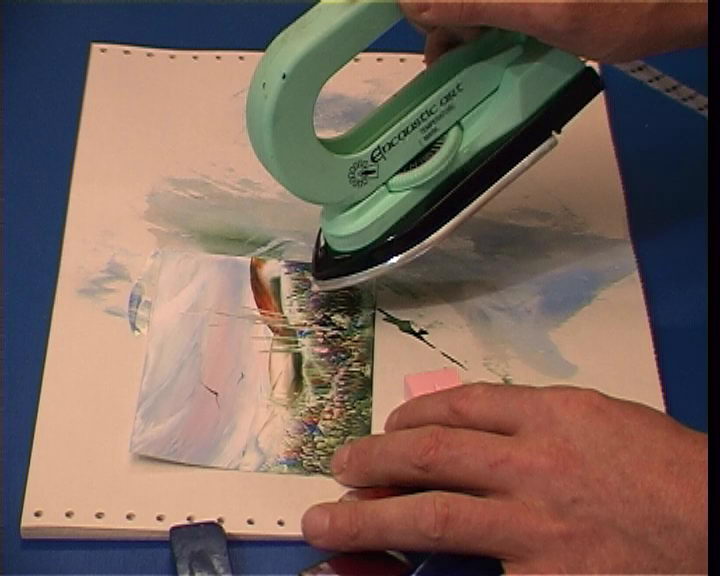
Sliding right across, then back through the middle and across again toward the bottom of the card has filled all with green/brown wax and the landscape is created.
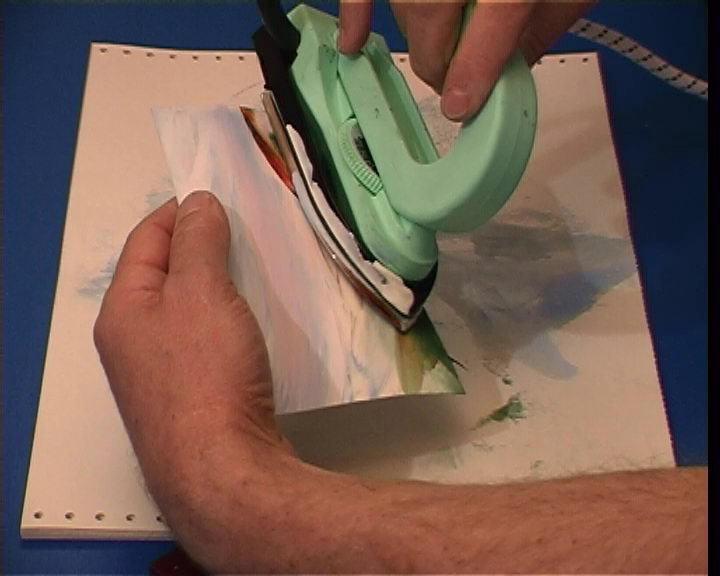
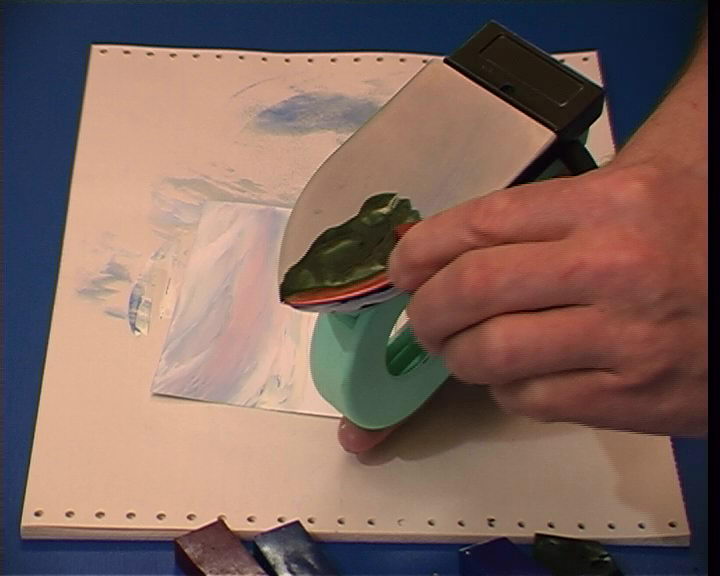
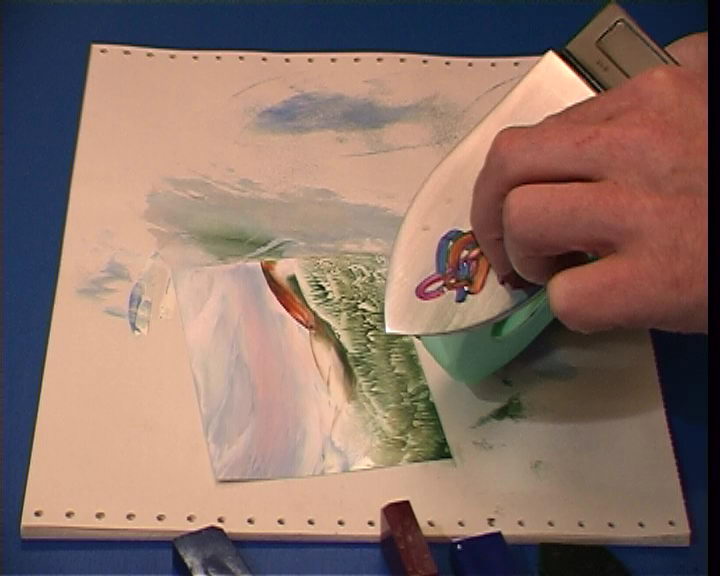
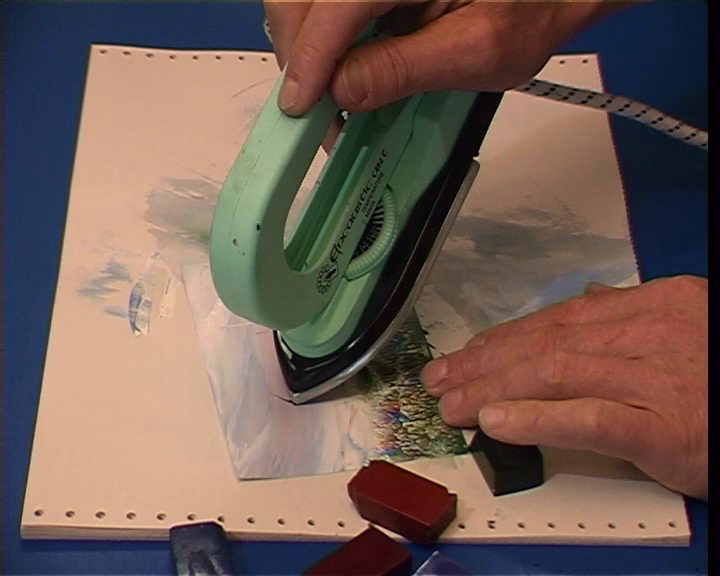
Apply 'foliage' effects by lifting the card, using fingers behind to bend and brace as the iron touches and then lifts off again immediately (dabbing) without that top iron curved edge touching.
When done correctly the foliage will look natural, but if the top edge contacts the card then 'arc' marks or hard lines from that edge will be apparent.
Adding a little of the sky colours but in darker versions as shown here, will enable colour harmony and strength in the foreground.
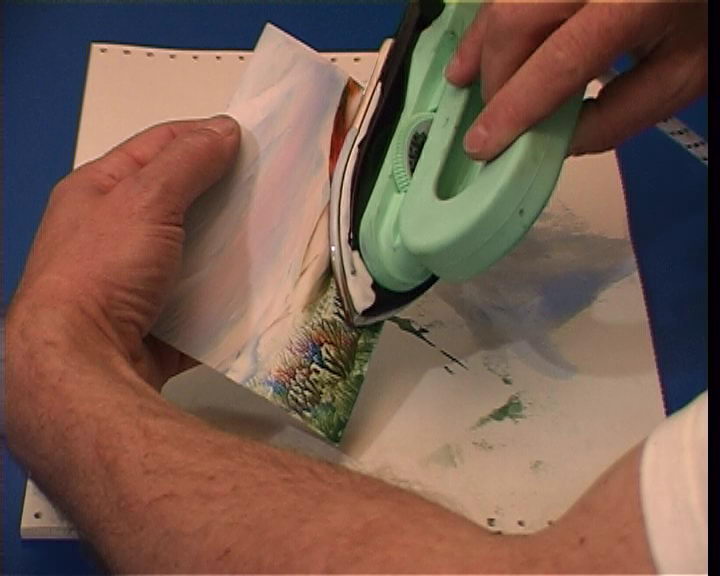
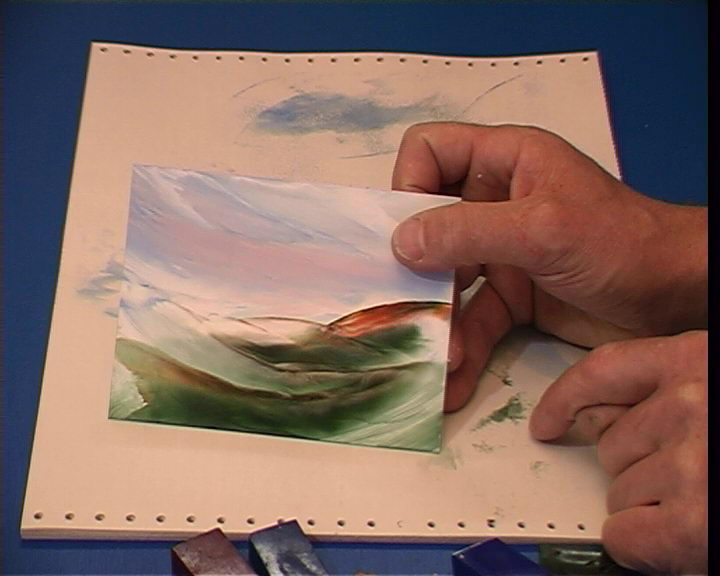
Suddenly the whole image begins to gel as one believable scene.
Colour harmony completed in sky and landscape, just need some details now ....

Clean the iron thoroughly using tissue - beware of liquid wax dripping out from inside the iron when it it tipped upright on the point.

Clean all around the edges ....
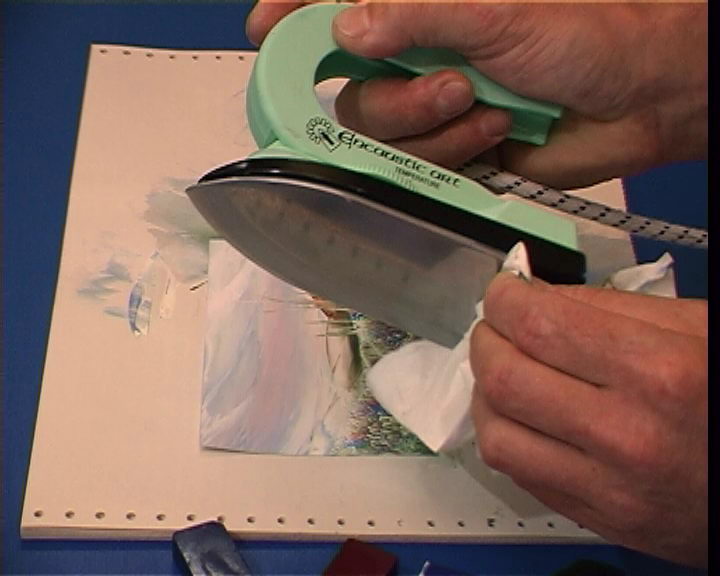
And up through the back slot. * it is good to clean this any time after the iron has been standing for a while upright as it is where the liquid wax settles.

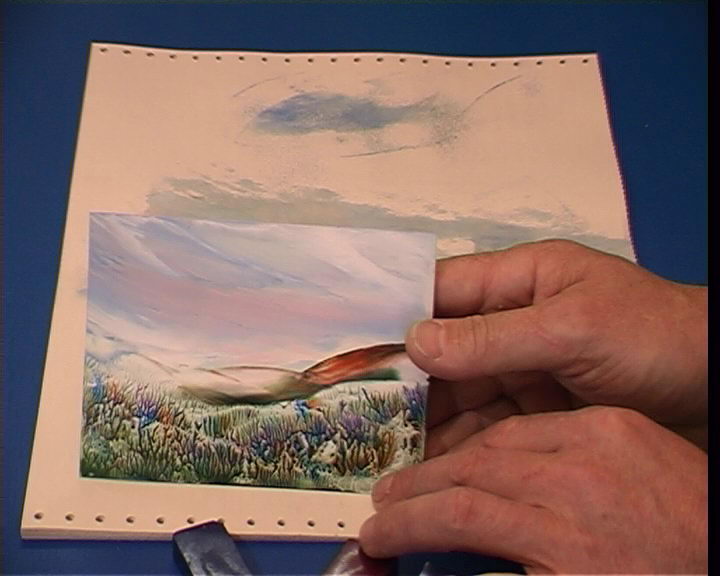
To make a bird detail, first touch the tip of the iron quickly in and off the green and brown blocks - just enough to get a molten bead of wax there.
When that loaded tip touches the card surface the bead of wax breaks and the iron point is flicked out and upwards for one wing to form and end in a point.
From that center of bird point a second flick makes a balanced pair of wings. The for some flowers dip the tip more deeply into the pink wax block ...
Tap the loaded tip gently at first, then harder each time to 'blob off' some of the pink in a random flowery distribution of spots and blobs.
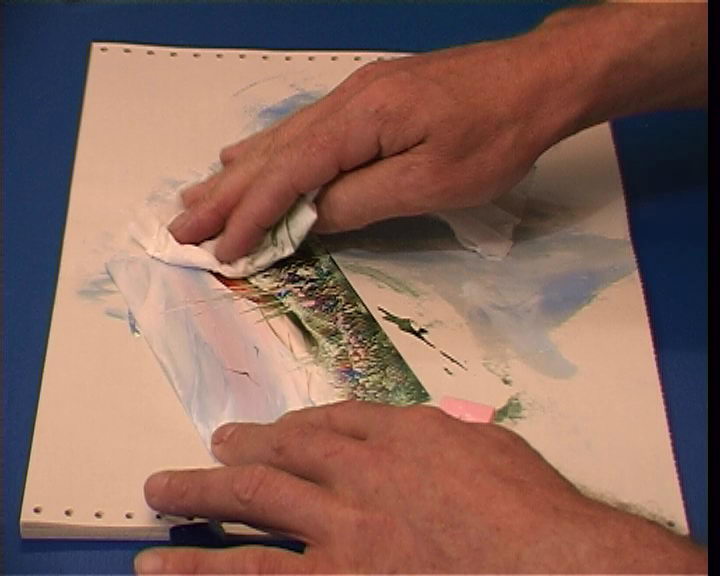
Polish the final encaustic art landscape card using a pad of soft tissue. It will buff into a lovely sheen.
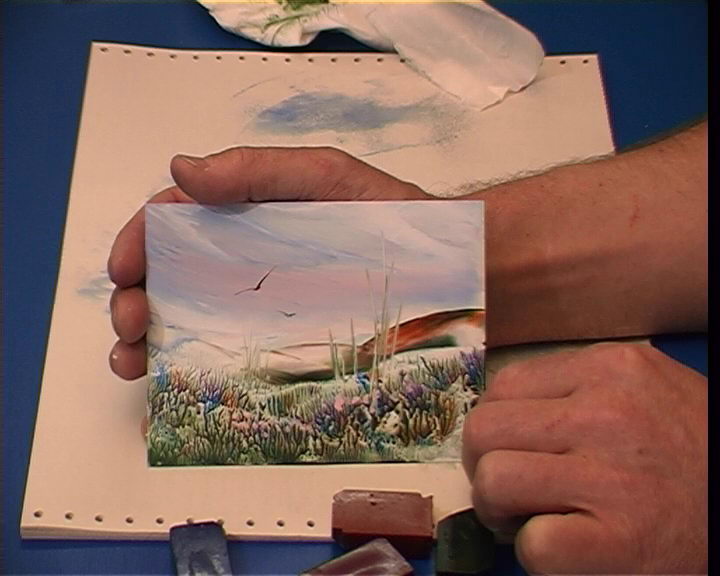
A lively sky that fits the landscape colours and gives a place for the grasses to grow and the birds to fly free.