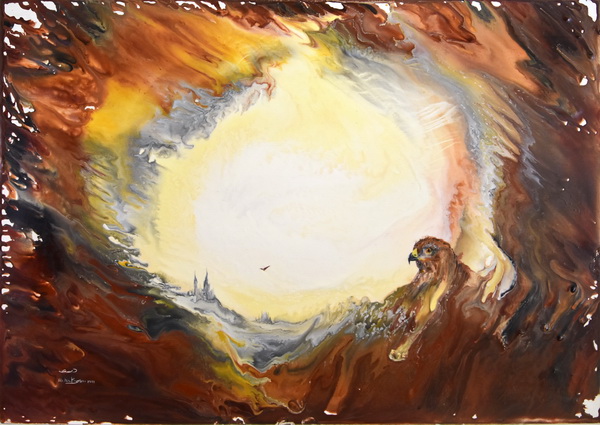
This is an encaustic art painting from 1991. It has been framed behind glass and a single mount (matt) board ever since then. I was invited to have it displayed in the Encaustic Art Institute Museum of Encaustic work in New Mexico. Before sending it off I wanted to open the frame and clean the inside of the glass. I deframed this image and was really pleased with the way that the wax surface has behaved in those 27 years. The painted wax area which had been exposed showed very little bloom. The areas under the mount (matt) had developed a little more of the dulling bloom effect. But even the covered area was in a very acceptable condition with no dusty white deposits, just a dulling of the surface reflective quality

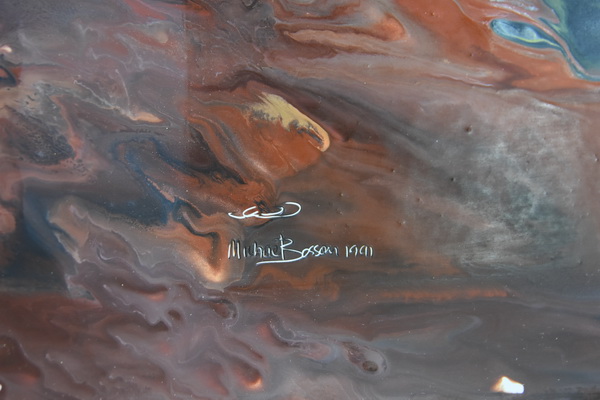
You can see in this image the area to the outer left where the mount (matt) had covered the wax. Bloom is a white dusty effect that is caused in wax by the migration of paraffin molecule chains to the surface of the wax. It happens in natural waxes as well as in man made ones. An old beeswax candle may well display this white dusty surface after years in a drawer. However, if you hold it under a hot tap above about 35 Celsius then the paraffins will be reabsorbed and the candle back to looking new. Of course, I don’t want to hold the painting under a hot tap nor even heat it with a hot air gun (which would also make the bloom disappear). Instead I wanted to polish the wax again, after those 27 years, and make it look fresh and alive once more.

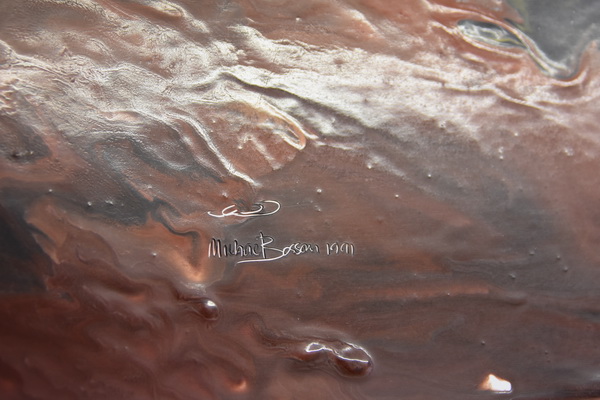
As this photo shows, the wax surface has taken a beautiful sheen once more. A little tip here is something I learnt from a dental technician many years ago. Use a soft cotton cloth; an old tee shirt for instance. Wet this cloth in water, then wring it dry as you can. Polish the wax surface gently at first, but then with stronger strokes. The water acts as a lubricant and brings a fantastic shine to the wax surface. In dentistry this is use in denture making. Another tip is to use circular motions in the polishing. If you are doing this on a new painting make sure that there are no crumbs of wax remaining on the surface before you begin polishing. The last thing you want is to drag them around and create smears of those wax fragment colours.

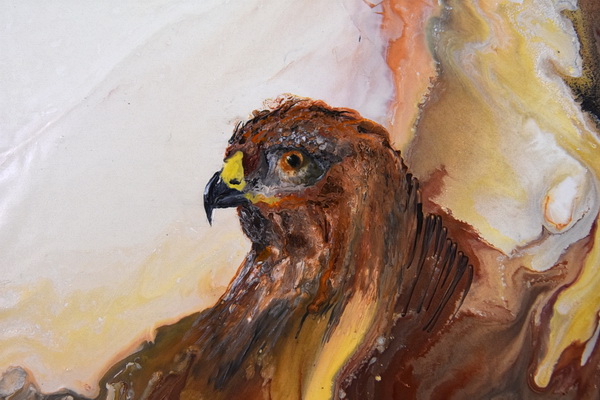
This is a detail from the image. It was created after the background had been formed and the intention was to make that hawk appear to be rising out of the wax – a sort of phoenix but in a more realistic representation.
I was also delighted to notice no apparent difference between the colour and tonal shade of the pigments that had been exposed for all that time compared to the areas that had been out of daylight. This underlines the light-fastness of the pigments. These colours are safe modern types of pigment, suitable for use in all areas of work, from schools to fine artists.

The actual original image is larger than the part exposed by the mount (matt) in the wooden frame. First I had covered the entire area with clear wax to help the colours flow later when the hot air work was done. This had been applied with the iron. The the wax colours were dribbled onto that card, again using the iron to do that job. Next came the hot air, which blew the wax around. The card was on a solid board which enabled the work to be panned and tilted whilst heated. The wax flow was fairly controllable in this way and the central light was key. Some areas, especially closer to the edges, did not get covered in coloured wax. I left those with just the clear at that time. If I were doing a similar piece today, twenty seven years later, I might choose a different way to handle those parts. They could be filled in with a stylus as a feature for instance. This piece will be on display in the Encaustic Art Institute Museum in New Mexico. The external size of the framed and glazed piece is 78cm x 60 cm with an image size of 54cm x 35cm approximately.


