


 |
 |
 |
 |
 |
DEVELOPMENT |
ONLINE
PROJECTS |
|||||
| Hotplate : Wax coatings by "drag thru" or swipe | |
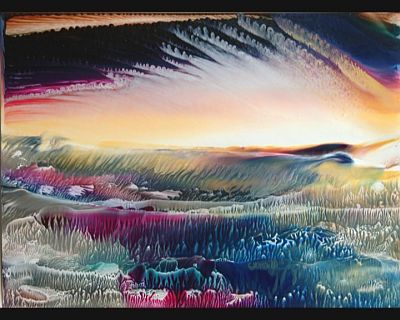 |
Encaustic
wax coating, swipe technique, drag-through; all are terms describing
this wondrous method for creating with molten colours by lightly
drifting a card across the molten wax pool to create a surface
coating that offers effects unachievable by other approaches. |
    |
|
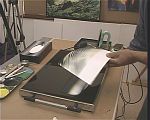 |
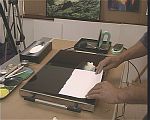
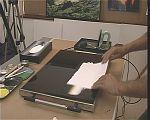
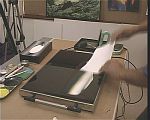
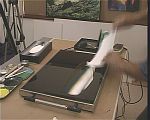
The card is embedded gently into a pool of wax colour then lightly and positively slid off the colour, at the same time the leading edge is raised so that it does not continue to be in contact with anything other than the surrounding air. The result is a smooth surfaced blend of fantastic colouration and light quality. Similar effects can be approached with hot air work, but nothing quite meets the beauty of this wax swipe drag-thru. |
|
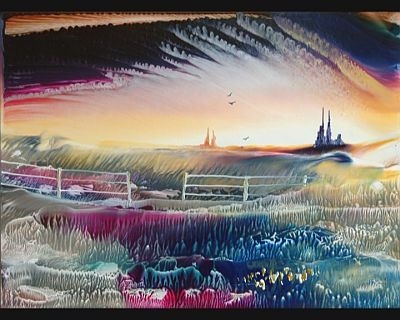 The final fantasy castle scene - the small details define the image |
| How to work on the hotplate to create drag-thru wax coating images ... | |
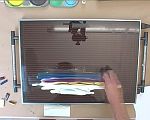 |
Begin by laying on the molten colour in multiple bands at least as wide as the card that will be dragged through the wax colour. Make sure that the various colours all overlap and be careful to avoid any air pockets or you will find blank holes appearing in the surface coating when the card is dragged through. |
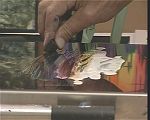 |
Be generous with the wax. It must be a fluid puddle of liquid colour, otherwise a coating will not be possible and you will create a very textured result as you attempt your drag-though. Begin experiments with lightest colours at the bottom, blending harmonious hues in the preceding bands. Remember, no holes and plenty of wax! |
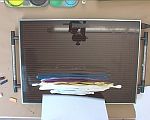 |
The colour is now ready for the card to be embedded into it. Notice that the length of the final banded encaustic wax colours is wider than the card size. It is vital that the card has plenty of wax to embed into. |
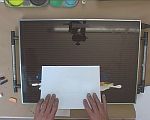 |
Now place the top edge of the card at the top of the banded colour, just ensuring that the edge is within the wax, so that as you lay the card downwards the entire surface all the way to the top has wax beneath it. |
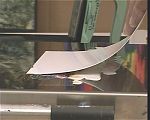 |
Lower the card into the molten wax puddle very slowly and as you do so shake the card in your hands as if you were trembling fast. This action helps alleviate any of the unwanted air bubbles that can get trapped as the card is lowered onto the uneven wax surface. |
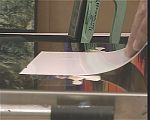 |
Continue to drop the bottom edge of the card toward the hotplate, all the time allowing the wax to slowly cover more of the touching surface. |
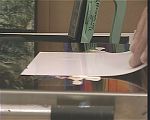 |
Now you are almost there, just a final lowering to get the entire wax band in contact with the upper half of the card's surface. This will become a sky very soon! |
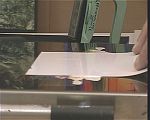 |
When the card is completely interfaced with the molten encaustic wax colour then gently test the ease of movement from side to side. Imagine that you are going to move swiftly to the left or right (depending on which feel more natural to you). Check for an easy flowing mobility as you begin to move sideways. |
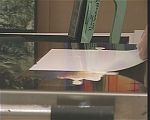 |
You should feel very little resistance. If the card sticks then there is not enough wax between it and the glass hotplate surface. When you are comfortable that the movement is relaxed and easy then begin your drag-thru or swipe motion. Start off slowly but without any stutter or hesitation else these will show as marks on the final surface. |
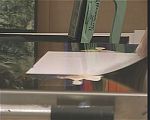 |
As you move forward in this sideways motion (here toward our viewpoint) then maintain your speed and very subtly begin to lift the leading edge so that as it leaves the waxed area of the hotplate it is no longer in contact but is lifting off, rather like the front end of an aircraft just leaving contact with the ground as it takes off. |
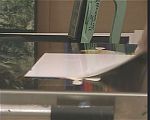 |
Continue the unfaltering stroke, all the time gaining confidence and speeding up gently too. |
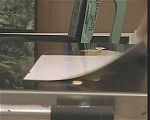 |
The lifting edge should lead the following card through the same line of travel, so that the card surface now coated with wax loses contact with the hotplate surface before it bumps into any unwaxed area of the glass surface. |
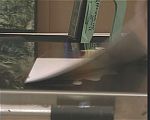 |
The movement now develops speed into a "pull" motion where the card swiftly follows the original line of movement, leaving the hotplate surface behind and becoming increasingly upward in direction of travel. |
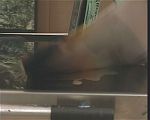 |
Even in this blurred image you can see that the card surface is now coated. The blurring gives an indication of the speed that is now being applied to the travel of the card. |
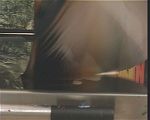 |
Finally the entire card's upper surface area has contacted and been dragged through the wax pool, leaving an even blended colour coating of wax across the entire face of the application area. The card is now traveling vertically and should continue through an arc so that it ends up horizontally held with the waxed surface uppermost. |
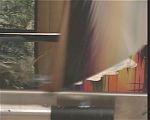 |
Allow the wax a few moments to cool before placing onto
a flat surface. |
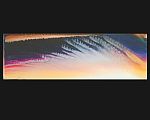 |
This type of sky exhibits "light over dark" which offers a beautiful luminosity and illumination to the sky (or other background). This effect is almost impossible to achieve to this level through any other application technique. |
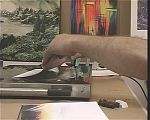 |
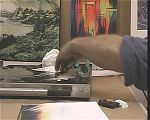
Now it is time to add the landscape area and foreground. Some of the same wax can be used or new colours added. The approach is very similar as above for the application of a horizon portion. Simply turn the sky so that your thumbs are touching it, then drag the card through the wax as shown here. |
 |
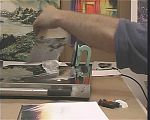
If you can get down so that the underside of the card is visible at eye level, then you do at least have the opportunity to see something of what is happening and thus respond and react with greater control to the development of your creation. |
 |
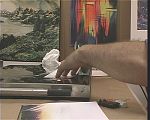
After each pass lift the working card off the hotplate surface and view the current state of result. You are working from top downwards, so as soon as you like the horizon simply take care not to re-work the piece that high up the card, concentrate on the areas further down. |
 |
You can always add more colour to the hotplate and you can re-work the card's landscape foreground area as much as you like. To create the detail of textural foliage like you get by dabbing the iron, just place then lift of upwards without any sliding motion. This creates the suction effect. More wax creates a bigger & heavier effect. |
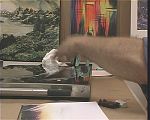 |
So keep working with a mixture of the sliding and dabbing effects until the foreground is pleasing and contains the colour mixtures that you want and that "co-operate" well with the initial sky choices. |
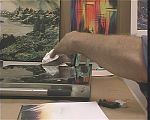 |
The moment comes when all is covered in a pleasing manner. Then just lift off for the final time and allow the wax to cool whilst holding it in a horizontal position (to avoid any dribbles or runs). |
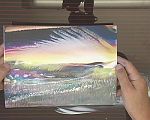 |
If you decide that the colouration has become too uniform, too brown, too grey or generally overly muddied, then go back into it again. You can heat and clean off the entire foreground, but it is often better to retain some of the "dirtied" wax as this helps tone down fresh colours enabling a more successful visual blending with the rest of the image. |
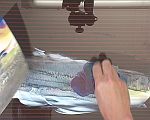 |
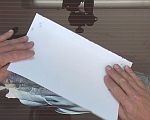
Add any further individual colours or mixture of colours ... |
 |
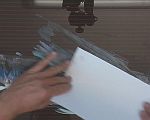
... then work with the sliding and dabbing techniques again ... |
 |
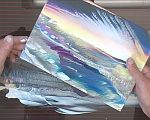
... altering and recreating the unsatisfactory area, until you become pleased by the outcome. |
 |
Just needs a final dab to texture up that lower right area ... |
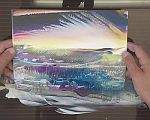 |
... then it is done. The final piece that has been created totally by working on the hotplate surface either by the sliding or dabbing actions. |
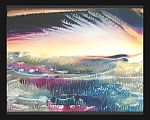 |
The quality of light in this image is vibrant and the
process is swift once you are familiar with the lightness of the initial
drag-thru. |
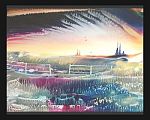 |
This piece has been taken in a fantasy direction, but a
tree and flowers could have led the mind to see it in other ways. At the
end of the day it is really up to you, the creator, to decide on the direction
of your work. SOme would just leave it as it came off the hotplate - allowing
the viewer's imagination a greater scope to perceive or fantasize. Whatever your choice, this is a fast and spectacular method. |
|