


 |
 |
 |
 |
 |
DEVELOPMENT |
ONLINE
PROJECTS |
|||||
| Fabric Print : transfer a wax painting onto fabric ... | |
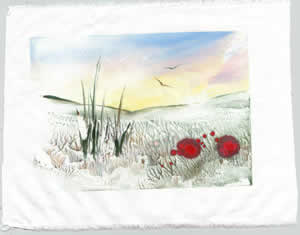 |
Printing off wax images from the sealed card surface onto many types of fabric can be very rewarding and a great creative technique. This is ideal for non-contact fabric items like wall hangings and decorative embroideries but not suited to clothes or furnishings. Fine fabrics work beautifully, but also try absorbent water colour papers too!
|
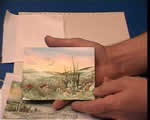 |
First you need to create the waxed image that you wish to print off as
a reverse transfer onto either fabric or some other absorbent material.
Ensure that on the original waxed artwork you achieve a good even layer of wax colour, coating the sealed card. You must use a sealed surface to work onto or the wax will not print off properly. Too little wax will create a poor transfer. |
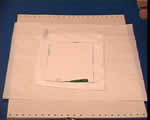 |
You need to lay out the artwork carefully in the following layers....
|
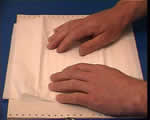 |
Having laid down clean underpaper, then a layer of at least one tissue thickness (to absorb any excess wax that penetrates thorough the fabric), then the fabric to be printed upon (face up), then position the wax artwork face down, then cover with a final protective tissue (to prevent wax colour being smeared around on the fabric where it is not desired). |
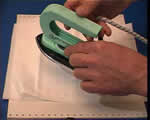 |
The iron needs to be working at a slightly higher than normal temperature, so rotate the temperature dial about 8mm or 1/4 inch clockwise, to increase the temperature. This extra heat output can now penetrate through the top tissue and the painting card, to melt the wax artwork into a liquid state which can be absorbed into the fabric underneath. |
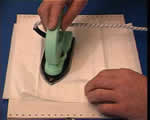 |
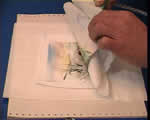
Iron slowly and with quite strong pressure. Start along the top edge of the waxed card area moving firmly but slowly along. The wax only takes a few seconds to melt and be absorbed, so continue down the card area always overlapping what you have already done. |
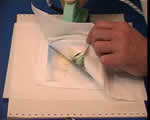 |
Keep the iron pressed down firmly onto the tissue and painting card and peel up the top edge of the wax artwork to reveal the print off that has occurred so far. You will be able to see if the iron is hot enough and if sufficient wax colour has melted and been absorbed by the fabric. |
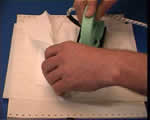 |
Continue working down the image until the whole thing has been covered and transferred. |
 |
Peel off the now spent painting card whilst the whole collection of
layers is still warm. |
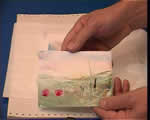 |
The used card now looks weak and flat, much more like a water colour tone
than the usual shiny rich wax colour. This remaining image can be very attractive
and with a small amount of work becomes a beautiful new piece again. Try retouching the foreground with a little fresh wax colour - this will have the effect of "sharpening the focus". |
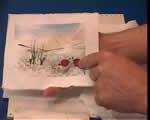 |
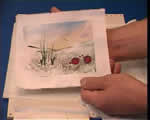
The two spots of red that were added to the original wax image have made so much liquid when they melted that the fabric became flooded and over saturated. This caused blobs and could have spoilt the final outcome. However, such situations can be used creatively - for instance, you could add some lighter embroidery over these blobs to break them up and enhance the result. |
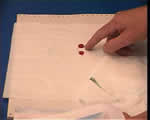 |
The bottom layer of tissue here has absorbed the excess wax from the two red blobs. This helps prevent problems of ending up working in a puddle of wax. The under-tissue "mops up" areas where too much liquid wax occurs and helps limit the spread of these unintended colours. |
 |
The final fabric print is a reverse of the original. The finer the fabric the finer and more exact the print, but also the more under-tissue you will need to use. Natural fibers will take low heat washing, but experimentation is vital before committing to a large piece of work. Water colour paper can of course be overpainted after the transfer - resulting in some interesting and unusual work. |
|