


 |
 |
 |
 |
 |
DEVELOPMENT |
ONLINE
PROJECTS |
|||||
| Common Faults Encountered in the Two Colour Landscape | |
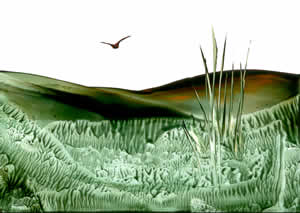 |
Well, there are always plenty of things to learn and one of the main ways we all do that is by making mistakes, then learning to correct them. In this landscape image there are several very common issues that can easily be solved once you understand what is happening. |
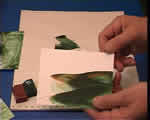 |
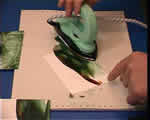
Not Ironing Far Enough Across the Card So you load the iron correctly, then smooth it onto the card, but don't pass the iron right across the card - The result is that wax colour is not carried over the whole width of the image and the horizon line is left incomplete. |
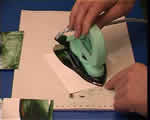 |
To rectify this error simply place the iron back onto the waxed area of the card and smooth over the area that is not covered. |
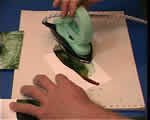 |
Keep a careful eye on the top edge of the iron because this is the part that forms the hard horizon line. Make sure that this top edge is totally complete before moving onto the next step in the image. |
 |
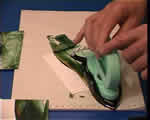
Continue to smooth the wax across into all uncovered areas... |
 |
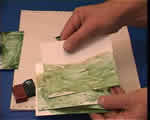
... until the foreground colouring is corrected and there is wax colour all over the lower part of the card - ready for the dabbing technique. |
 |
Not Enough Wax Colour on the Iron It sounds easy, but often you will not know just how much wax to use. If you don't use enough then results will be dry and scratchy. This can also be caused by pressing too hard or having the iron set on a temperature that is much too hot. |
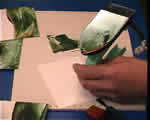 |
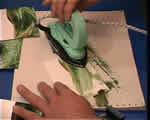
This is simply not enough wax for one image. |
 |
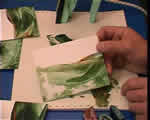
When insufficient wax colour is applied you will soon end up with a rather sad effort. |
 |
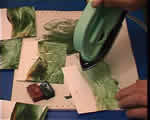
But remember, all you have to do is add more wax and all is recovered and fixed. So if your image looks like this, just add some more wax and don't press too hard with the iron. Set it to a Low temperature. Testing the Iron's Temperature |
 |
Birds - just a Big Blob Birds
or Jumbo Jets? |
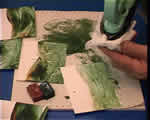 |
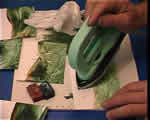
Place the spot onto the card where you want the mid point of the bird to be. Then CLEAN THE TIP carefully with tissue to remove all remaining wax colour. |
 |
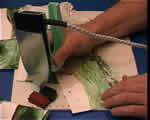
Now go back to the spot and carefully flick it out first in one direction then in the other. Remember, if the bird's wings are in a nice opened V form like a clock at 10 to 2 then the bird will look OK. If the V is too steep then it looks less realistic. |
 |
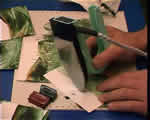
If you find it hard to hold the iron in the way shown above then you can invert it in your hand and hold it much like a large and clumsy pen. This allows you to rest the edge of your palm on the table top so that your shoulder is relaxed. Now it is all down to a finer action from your wrist rather than from the shoulder as in the previous style of working shown above. |
 |
Using this technique most people can create small birds in just a couple of minutes practice and no more landscapes become the victim of crashing Jumbo Jets! |
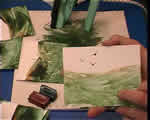 |
Big blobs and spots make big birds. ...so the old adage that "small is beautiful" really fits here! go to the instruction for a correct 2 colour landscape |
|