


DEVELOPMENT
ONLINE
PROJECTS
|
|
|
|
|
DEVELOPMENT |
ONLINE
PROJECTS |
|||||
| Chaotic Abstract : ...sometimes it's just a pleasing mess! | |
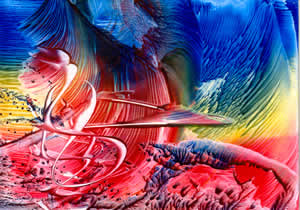 |
Using a few colours on the heated iron and applying them onto the sealed encaustic painting card gives results for any and all abilities of user. There is no right or wrong. The question is simply "Do I like this?" If the answer is yes then STOP.
|
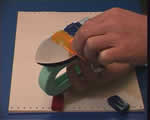 |
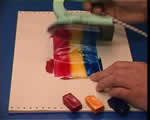
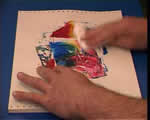
Get your work area ready with coloured wax blocks on one side and the iron on the side where you will use it (right for right-handed people). Heat the iron to 'LOW' then turn it upside down and load the base in parallel stripes or bands of wax. |
 |
Limit these bands to about 3 in your earlier experiments - the more you include then the quicker the wax colours will blend and mingle together. |
 |
Next, place a painting card (A6 size - postcard) on the clean disposable paper and gently smooth over it staying parallel to its long edges. Repeat this smoothing operation a few times until there is a good coating of colour in bands along the complete surface of the card. |
 |
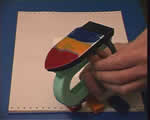
Start to play around with the iron, making simple marks on the waxed card. |
 |
Try lifting off the iron in an upwards motion, rather like opening the lid of a box or taking off vertically in a helicopter. |
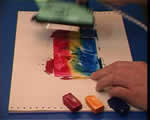 |
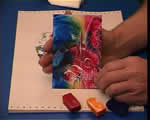
If you move the iron and lift off at the same time then the colours start to blend.
|
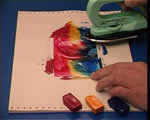 |
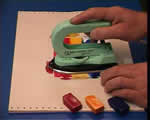
...again, some more gently movement of the iron to mix and texture the wax colours |
 |
Try using the tip of the iron to make marks in the wax - scribbles can be fun! |
 |
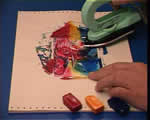
When you are pleased by the overall result - abstract art can just be a pleasing mess, so long as you like it - "beauty is in the eye of the beholder". Then, when the creation is complete, it is time to polish the wax or apply wax sealer |
 |
Finally the piece is completed and finished - ready to present in whatever circumstance you decide - mounted for artwork, made into a greetings card, beautifully framed for home decor or gallery display and a more serious contemplation of the work and ideas that it inspires in the observer. |
... and finally a bit of video to show some of the basic ways to create marks and patterns with the iron. If you practise these then you will develop skill in using the iron for painting with wax and become bolder in your abilities. |
| GO TO |
|